
Getting started with DISCO
The best way to get started on DISCO is to watch this short introductory video from our School of DISCO. We also have a DISCO Crash Course!
What is DISCO?
DISCO (disco.ac) is a cloud-based music and media file management, search, and delivery platform. Think of it like a combined “pro version” of Apple Music, Dropbox, SoundCloud, and Mailchimp.
When you create an account on DISCO, you choose a unique URL (e.g. myband.disco.ac or recordlabel.disco.ac) that you can access from any device. With DISCO you can:
- upload Tracks
- add and edit Track metadata
- create and share Playlists
- and more!
At a glance: The DISCO interface
The left sidebar
Refer to the screenshot below for reference.
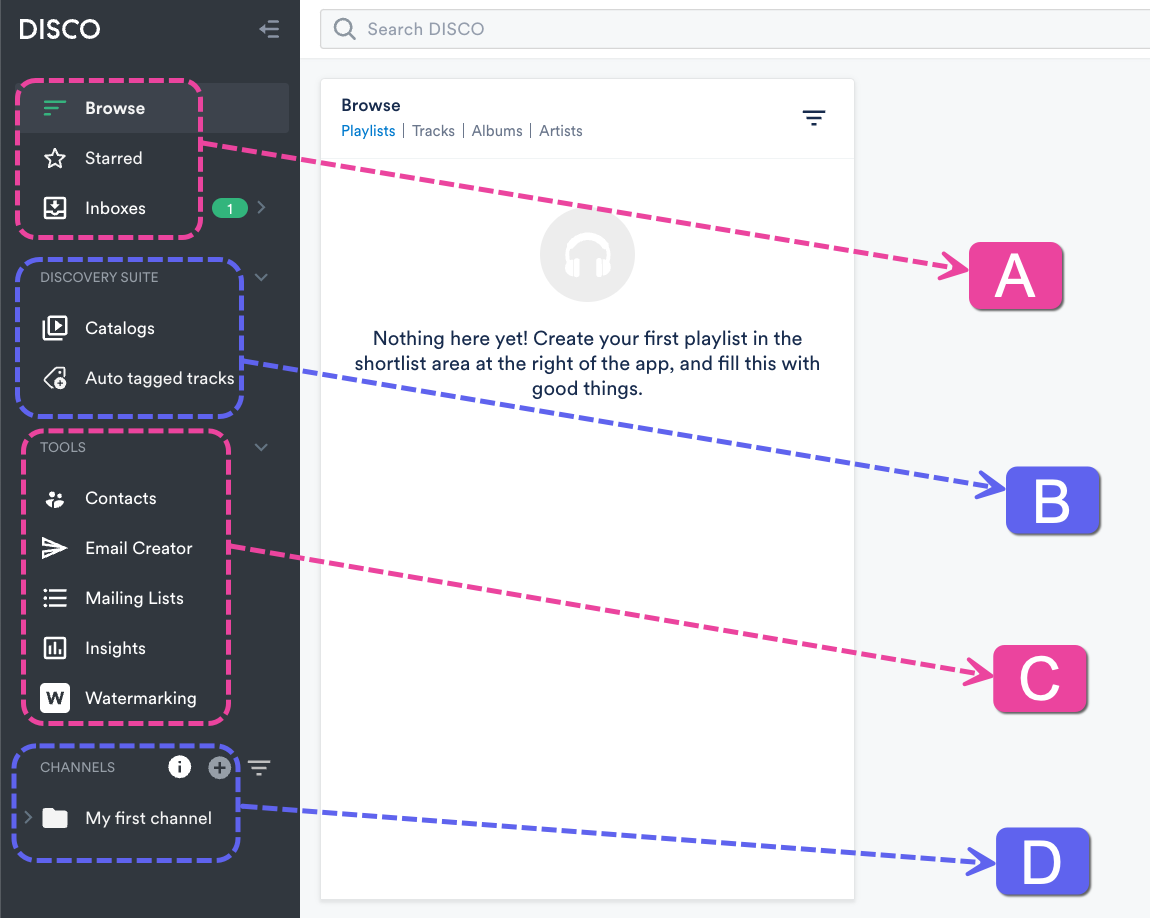
In Section A, you have the Browse area, Starred content, and Inboxes.
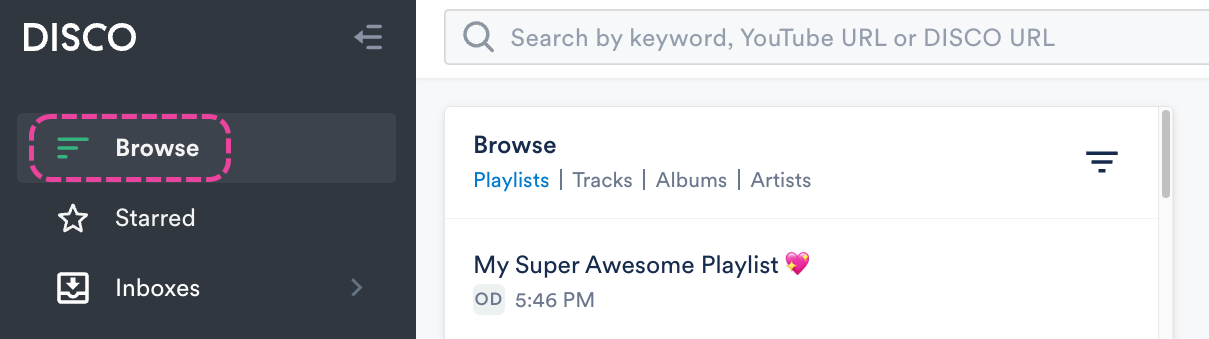
- The Browse area contains a feed of all the content on your DISCO that you can access (excluding Playlists from Inboxes that haven't been imported yet). There are four tabs in the Browse view: Playlists, Tracks, Albums, and Artists.
- Starred is a feed of your Starred items in your DISCO. These items include any content you have uploaded in DISCO, or that you have added to your Starred items (by clicking the star icon). This is useful for curating a personal collection separate from other users in your DISCO. Like Browse, there are four tabs in the Starred view: Playlists, Tracks, Albums, and Artists.

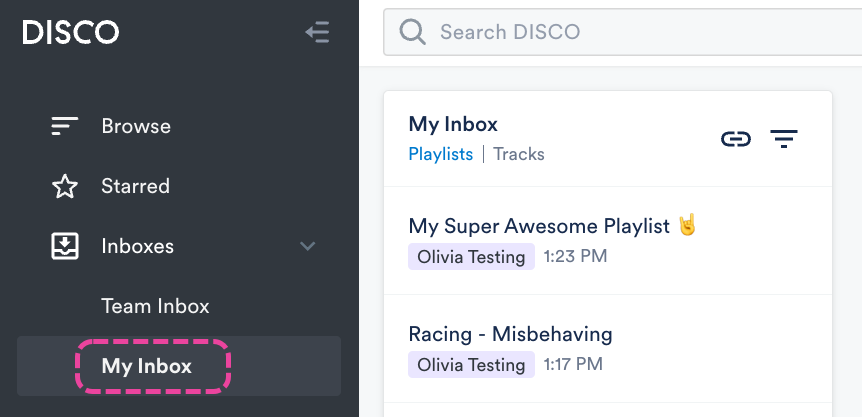
- Inboxes are where you can receive files from other users on and off DISCO. To move items from an Inbox to your DISCO, you can Star them, and they will appear both in your Browse and Starred sections. Check out this article for a guide to Inboxes!
Section B is the Discovery Suite. This may or may not appear in your DISCO, as it is a paid add-on.
- Discovery Suite includes Auto-tagging, Catalogs, Instant Instrumentals, and Similarity Search. Check out our School of DISCO Discovery Suite course!
In Section C, you will find Tools. Some Tools are only available to users on certain plans or are paid add-ons.
- Tools include Contacts, Email Creator, Mailing Lists, Insights, and Watermarking.
In Section D, you have Channels.
| 📎 Note: Some tools and features are only available to users on specific plans. There may be some pictured in this article that are not available in your DISCO. |
The top-right menu
The top-right menu is where you can access the DISCO Bulk Uploader, referral program, Notifications, your DISCO Account Settings, and more!
The Support menu
The Support menu, which is a circular question mark button, is located in the bottom-right corner of your DISCO. You can use this to reach out to our Support team if you like. Don't be shy, ask us anything 😊

Key features and components
Tracks
Files that you upload to your DISCO are known as Tracks. You can access all your Tracks from the Browse view.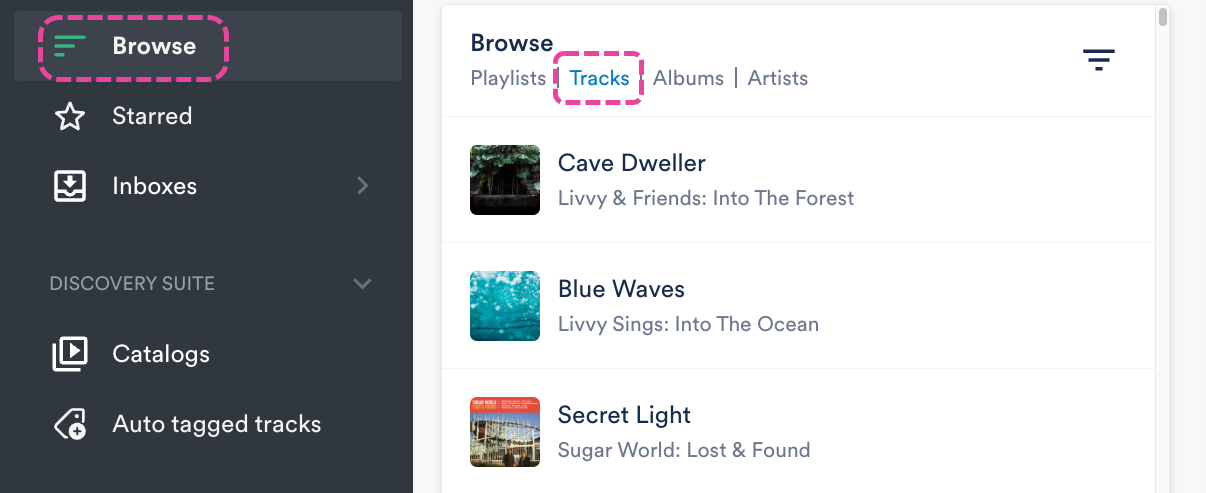
Playlists
Playlists are like customizable one-page websites with unique URLs that can be shared with recipients for streaming and/or downloading your Tracks. You can access all your Playlists from the Browse view.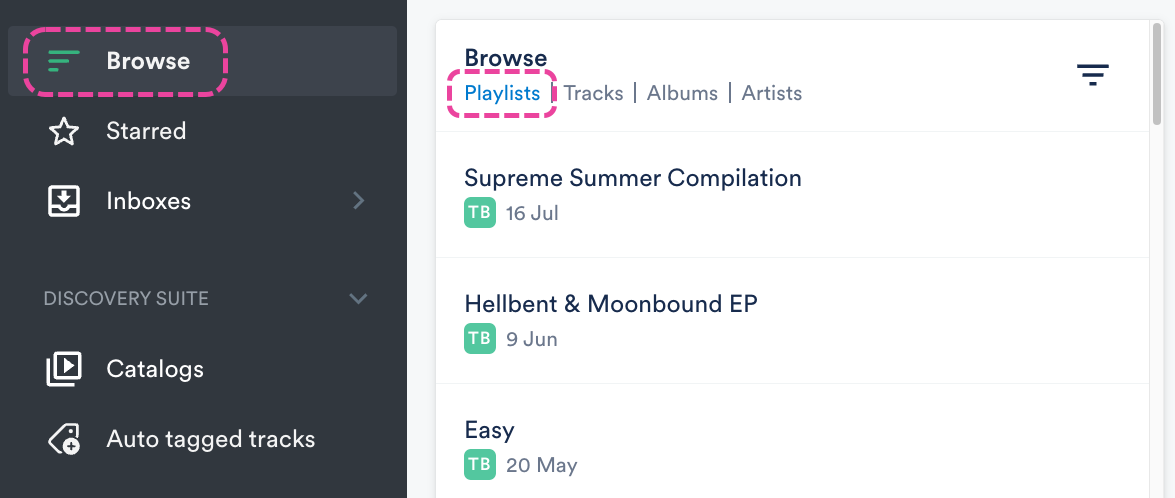
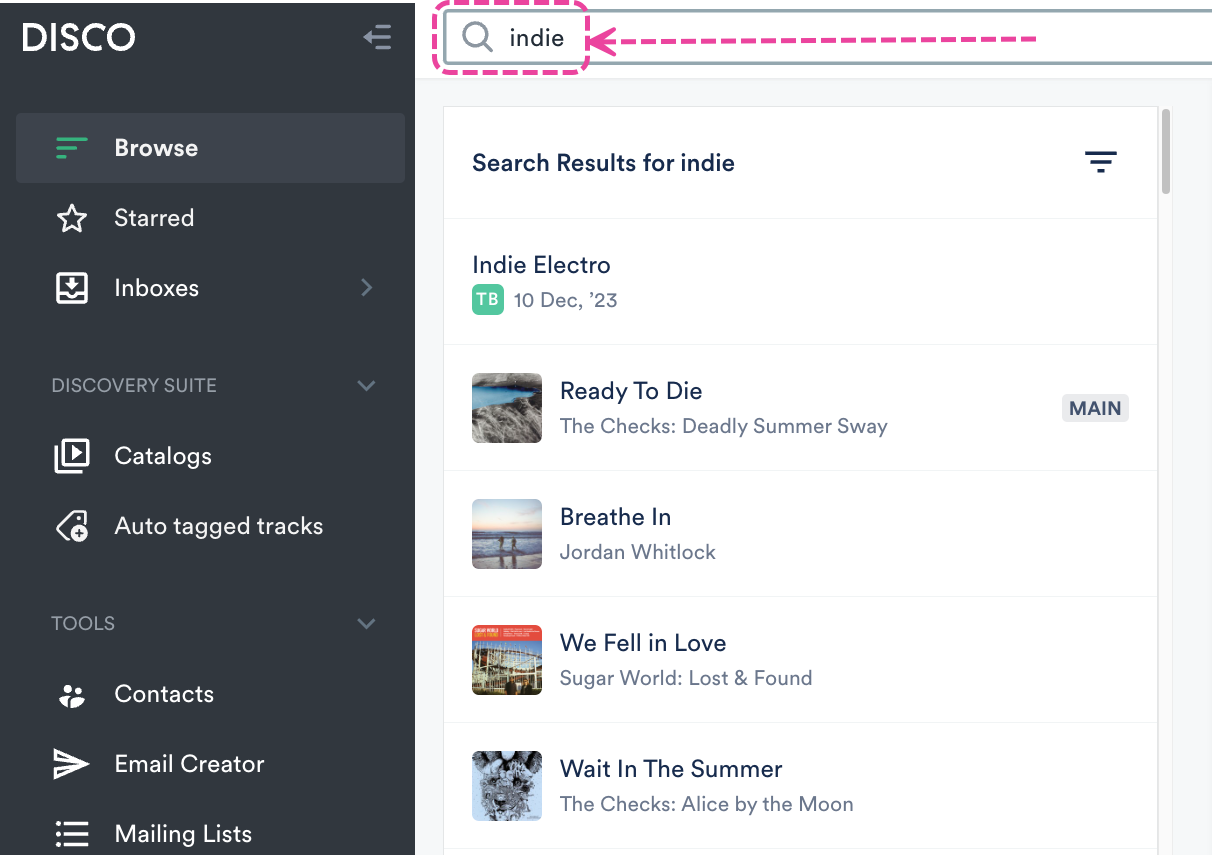
The search bar
After uploading Tracks, you can find them using the search bar at the top of your DISCO. This search pulls results from your Track metadata.
You can also drag Tracks from the Search Results into the Playlist Creator, save it as a new Playlist, and share it!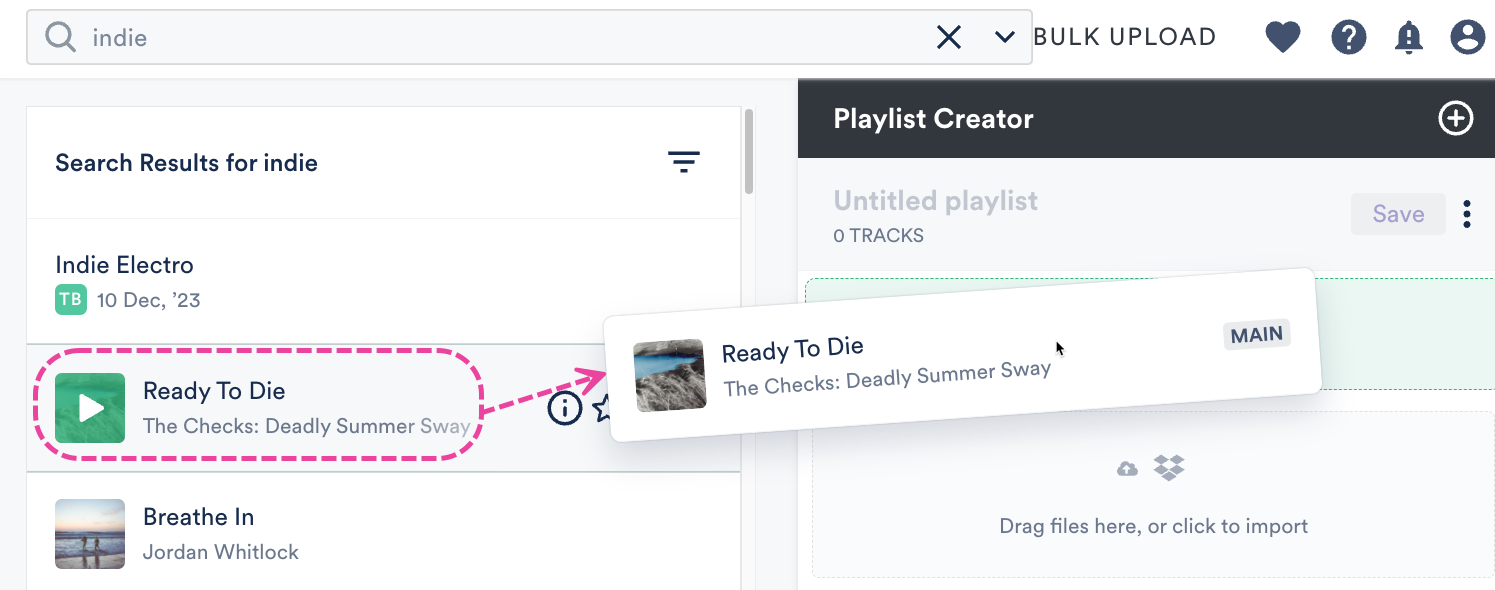
For more information on searching in your DISCO, check out this article.
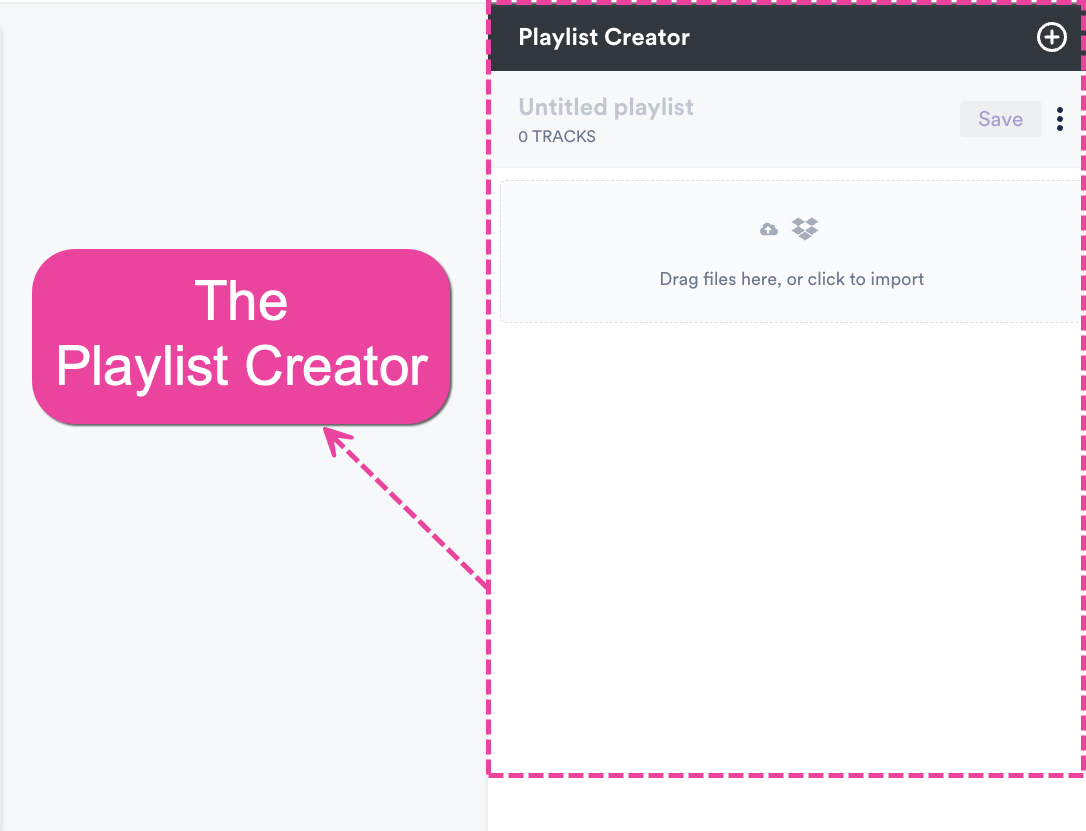
The Playlist Creator
When you first sign in to your DISCO, you should start by uploading Tracks. This is done using the Playlist Creator on the right side of the page.
You can drag and drop them from your hard drive into the Playlist Creator:
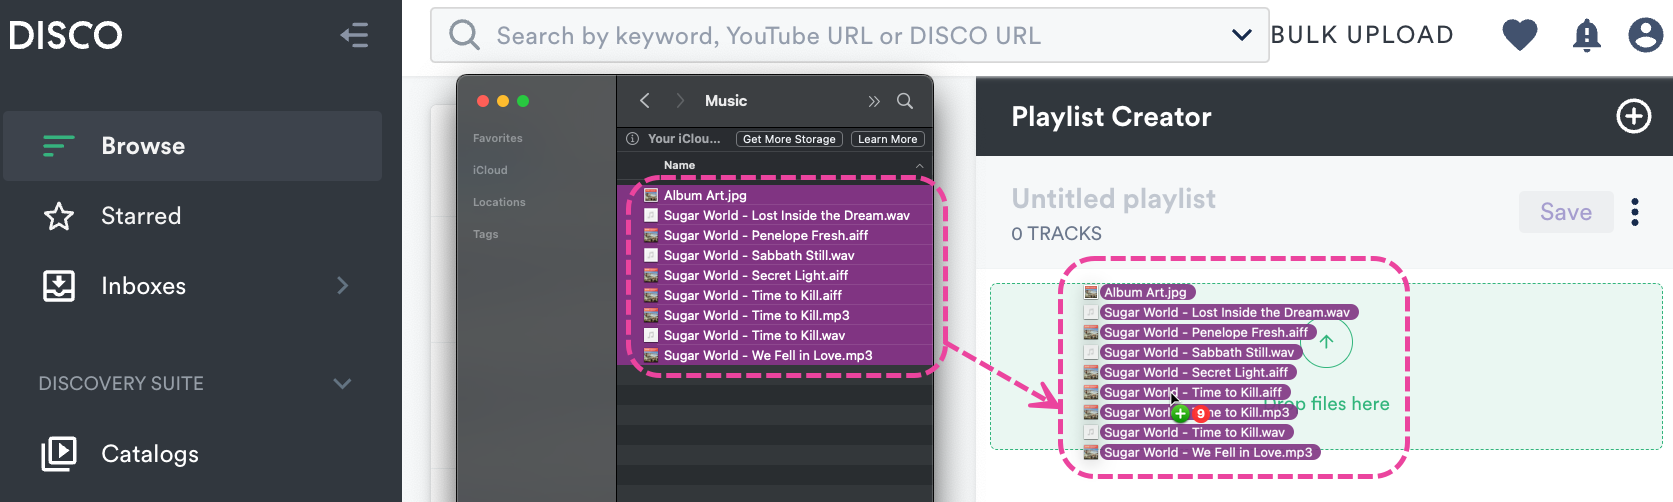
or from iTunes/Apple Music:
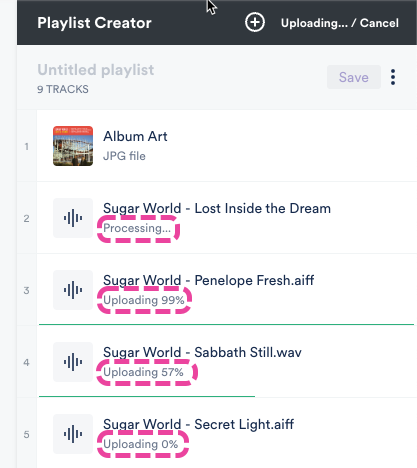
 The Tracks will be uploaded, processed, and added to your DISCO!
Check out this quick video for a demonstration of uploading and sharing your Tracks!
The Explorer
When you click on a Playlist, Track, Album, or Artist in the Browse section, it opens in a new column to the right. When you click on another item (e.g. a Track in a Playlist) in the new column, another new column is opened to the right, and so on. These columns make up the Explorer. This is the core of the DISCO workflow and helps you intuitively and creatively move through your music and files, speeding up the process of creating new Playlists. To navigate through Explorer columns, use the horizontal scroll bar at the bottom of the screen. If needed, you can update your Settings to make the Explorer columns wider.
Saving and sharing Playlists
Saving a new Playlist
| 📎 Note: Clicking Save in the Playlist Creator after uploading will create a Playlist for the uploaded Tracks. However, this is not required, as anything you upload in the Playlist Creator will be automatically added to your DISCO regardless. But we do recommend getting in the habit of creating Playlists to keep your music organized. |
To save your uploaded Tracks as a Playlist, click the Save button in the Playlist Creator.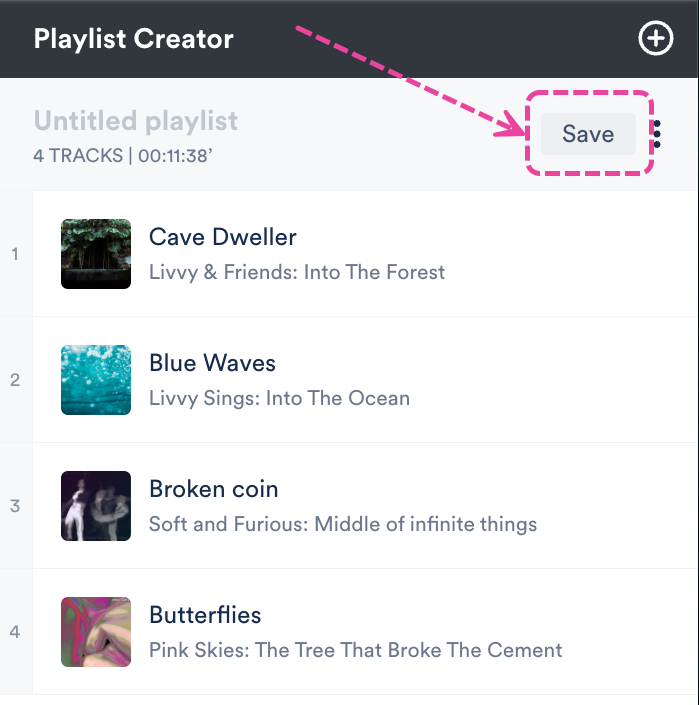
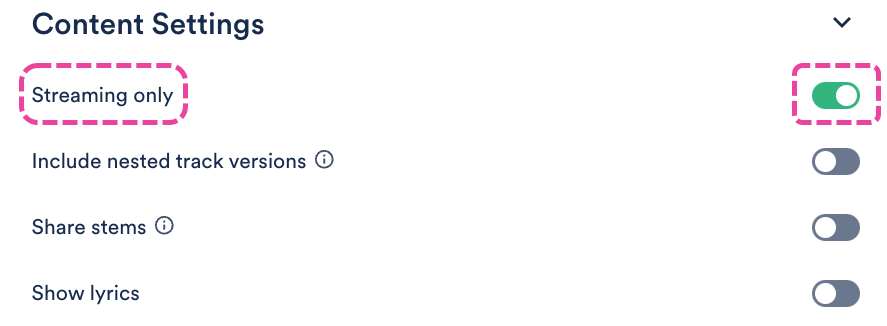
This will open the Save Playlist window, where you can give your Playlist a Name and enable any of the desired Playlist Settings (including Content Settings, Security Settings, or Browse Settings) by switching the toggles to ON. You can also add Playlist tags, or add your Playlist to a Channel. When you're done, click the Save Playlist button.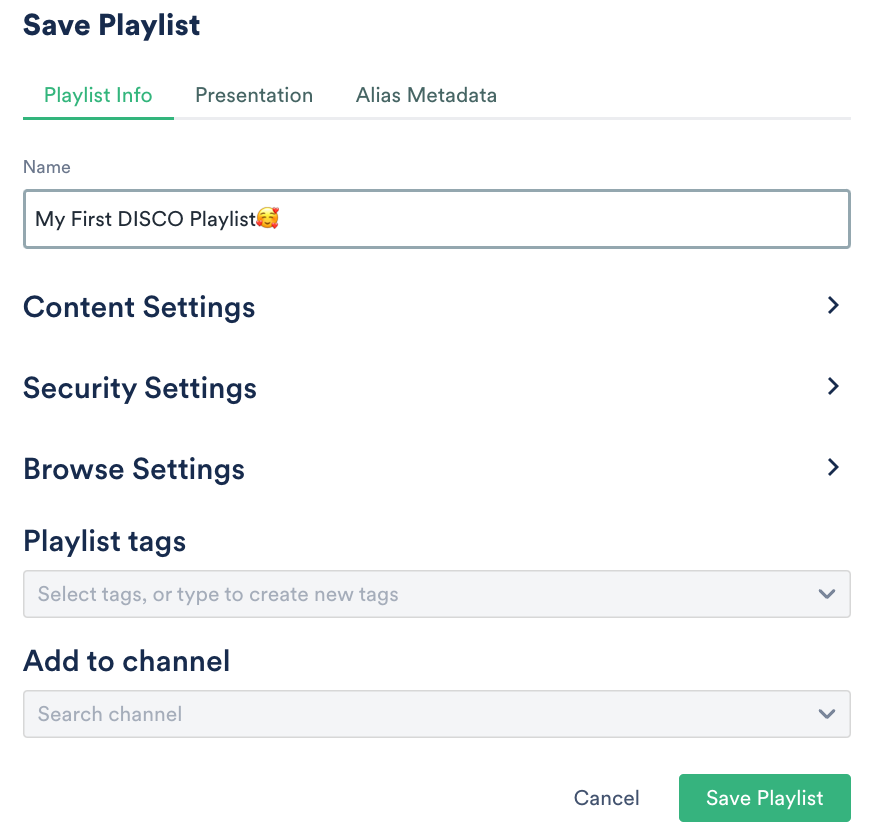
Sharing a Playlist
After saving your Playlist, a share link will be generated. You can copy this link, or click Share this playlist.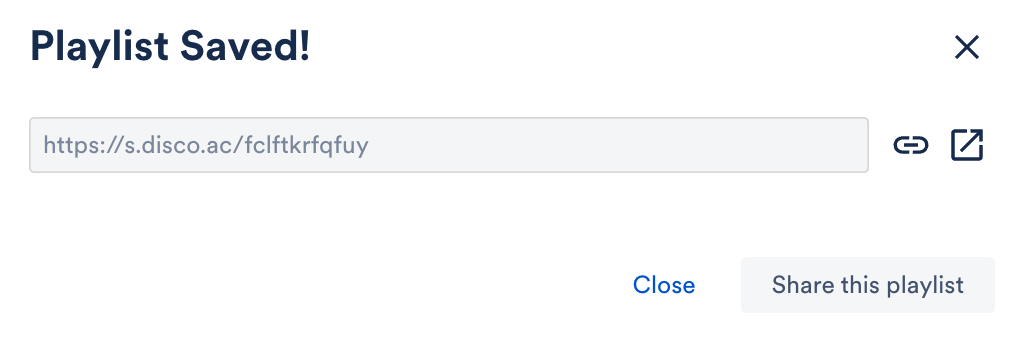
Depending on the Content Settings* you selected previously, recipients you share the Playlist with will be able to stream the tracks, download them individually, or download them all at once on a page with your branding: *If the Streaming only toggle under Content Settings was enabled, recipients will not be able to download your Tracks.
For more information on sharing Playlists, check out this article.