
Editing Playlists
After creating a Playlist, you can easily edit it at any time.
At a glance
There are two ways to open a Playlist for editing:
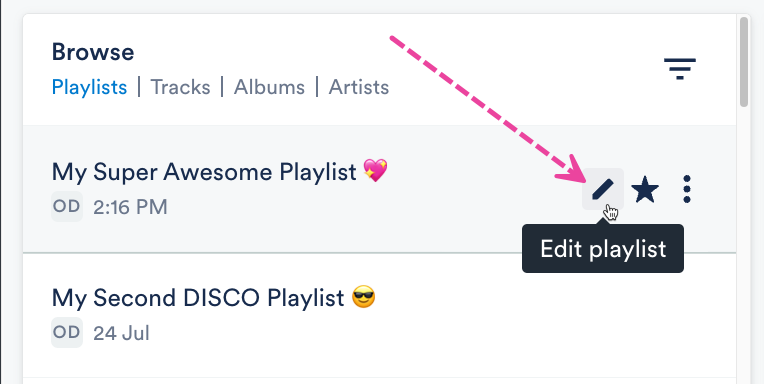
- Go to Browse > Playlists and hover your cursor over the Playlist. Then click the pencil icon to Edit playlist.
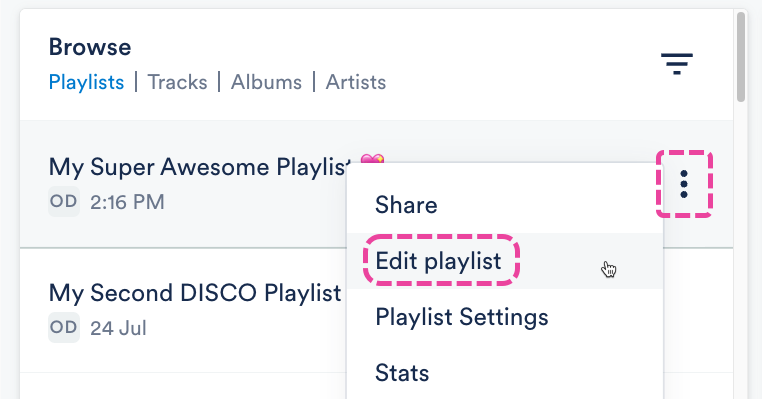
- Alternatively, you can open the Playlist Menu (⋮) and select Edit playlist.
The Playlist will open in the Playlist Creator where you can start editing.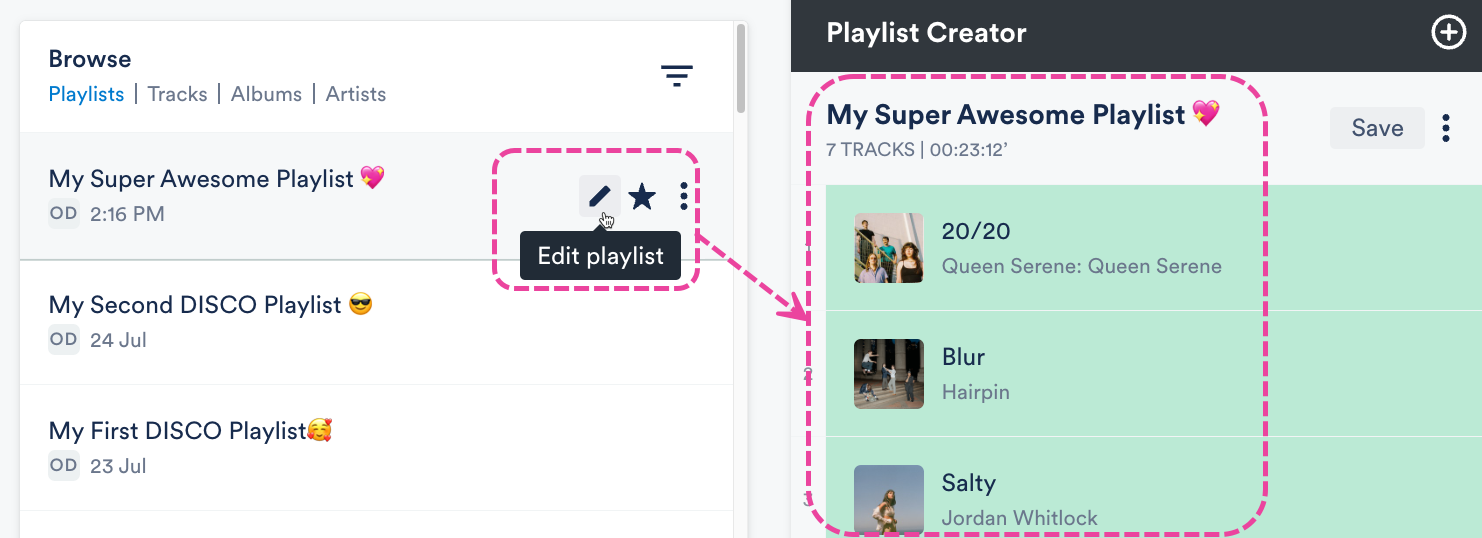
Adding and removing Tracks
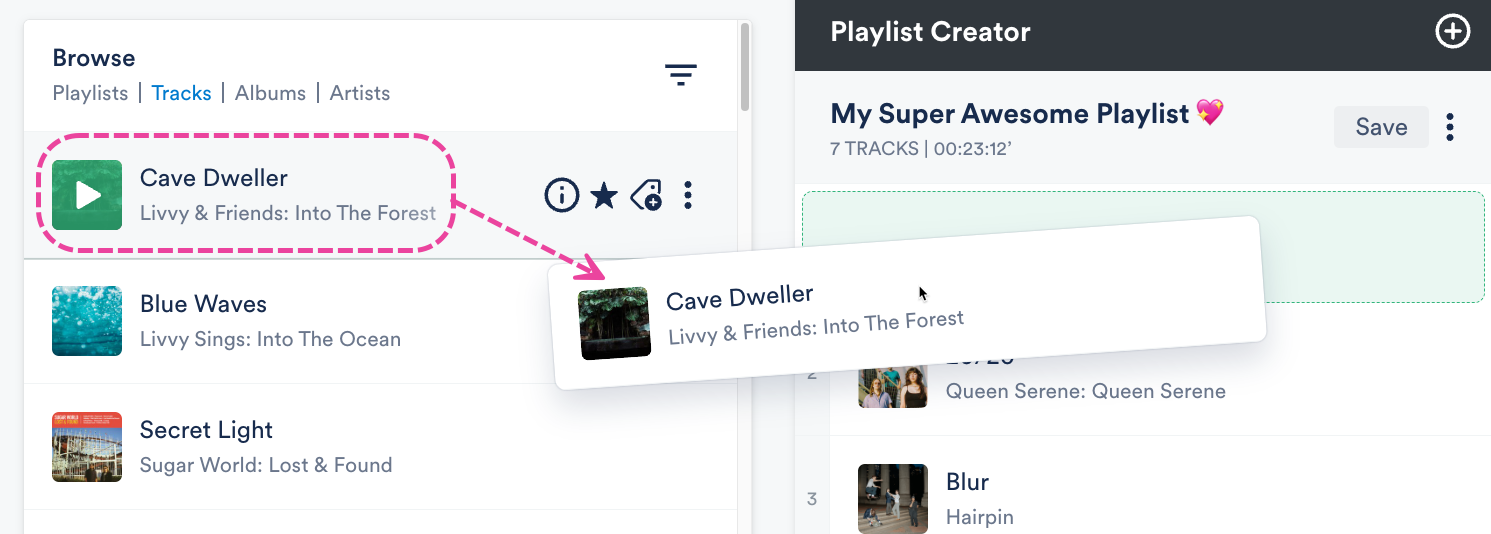
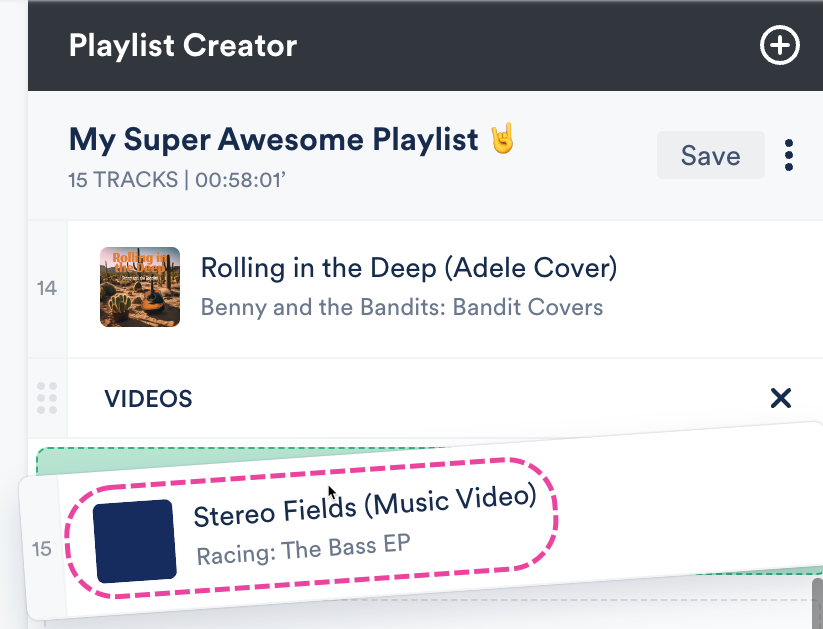
Add Tracks
Drag and drop Tracks from your Browse section to the Playlist Creator.
Remove Tracks
Hover your cursor over the Track. Then click the X icon to Remove from shortlist.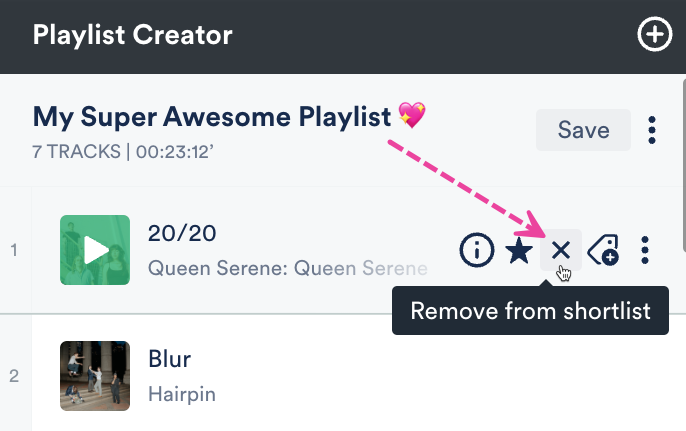
Changing the Playlist Name
Click to the right of the Playlist name so your cursor appears.
Changing the Track order
There are two ways to do this:
- Click and drag the Tracks up or down in the Playlist Creator.
- Open the Playlist Creator Menu (⋮) and select Change track order.
 Select one of the sorting options from the drop-down and click the Update button.
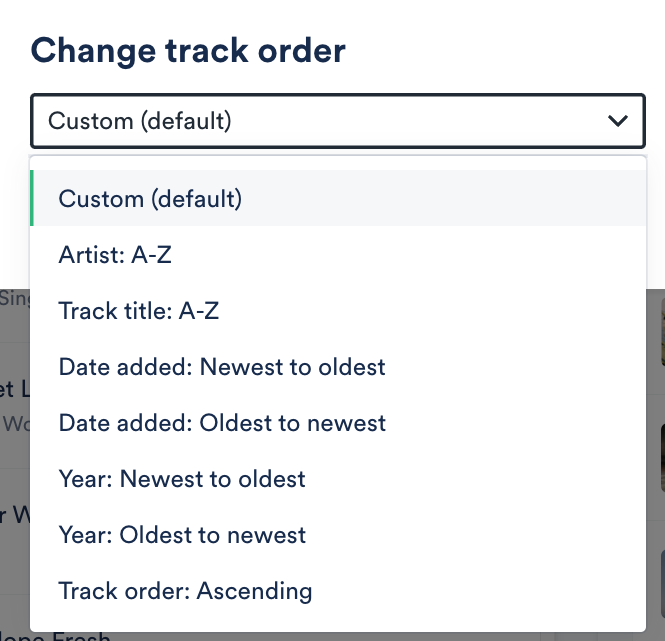
Check out this article for more information on changing Track order.
Adding, editing, and removing Sections
Check out this article for more details!
Saving the Playlist
After making changes, click the Save button in the Playlist Creator.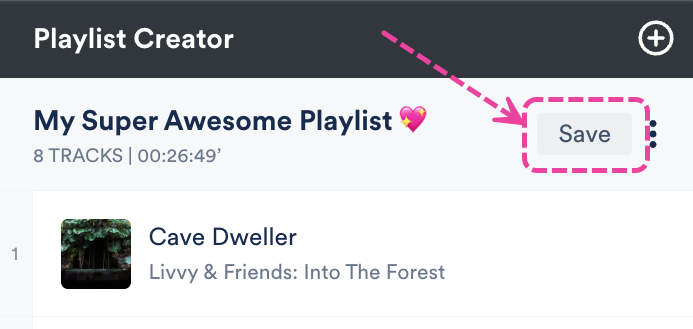
Even if you have already shared the Playlist, the latest version will always be displayed for the recipient!
Updating Playlist Settings
If you prefer to just update some of the Playlist Settings, open the Playlist Menu (⋮) and select Playlist Settings.
In the Playlist Settings menu, from the Playlist Info tab, you can give your Playlist a Name and enable any of the desired Playlist Settings (including Content Settings, Security Settings, or Browse Settings) by switching the toggles to ON. You can also add Playlist tags, or add your Playlist to a Channel.
From the Presentation tab, you can choose a design for an Artist Page or Album Page, add a Playlist Theme, and update some additional Settings, such as to Show lyrics on your Playlist.
If you are on a Plus or a Pro plan, you can add Alias Metadata as well.
| 📎 Note: Some settings are specific to specific plans and may not be available in your DISCO. |
When you're done, click the Save Playlist button. Now you can preview or share your new Playlist!