
Managing Contacts
It's easy to manage Contacts in your DISCO.
At a glance
It's useful to have Contacts saved in your DISCO so you can share Playlists with them and send them campaigns using our Email Creator feature. You can also view their activity on Playlists and add Notes to their profiles (that are viewable by anyone else in your DISCO).
In addition, you can more easily manage any writers you work with.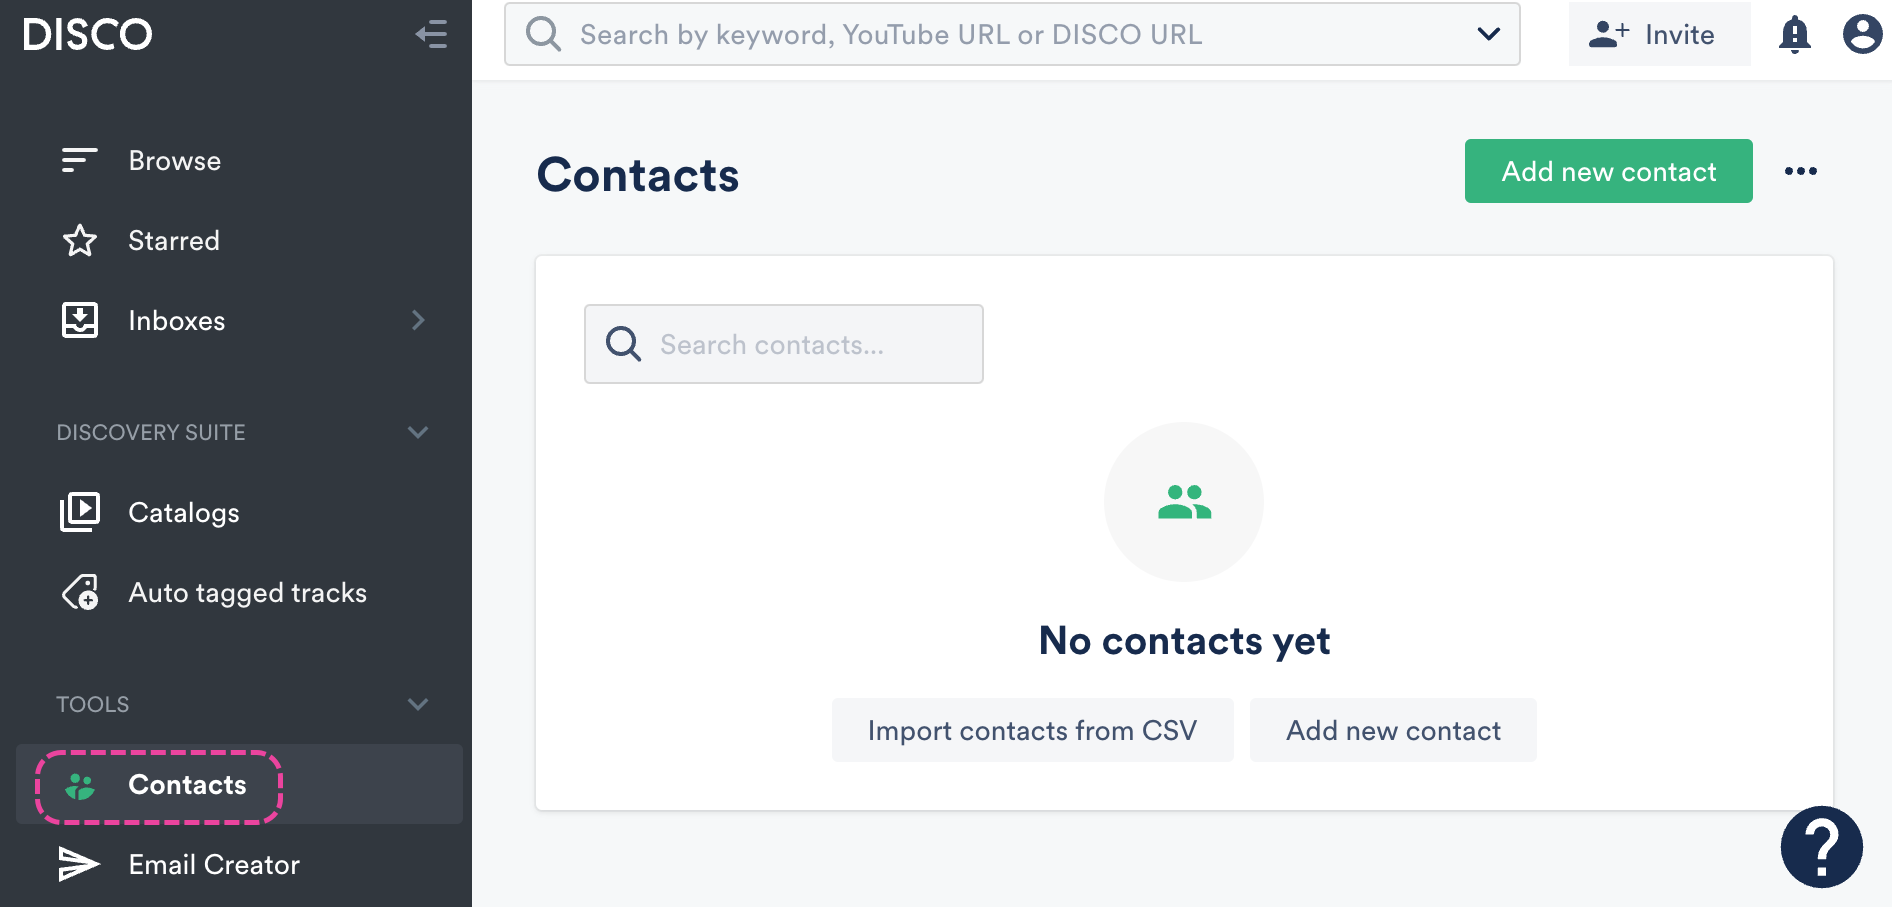
Adding Contacts
Anyone you share Playlists with will automatically be added to your Contacts list, but you can also add Contacts manually.
Adding a single contact
- From the left sidebar of your DISCO, under Tools, select Contacts.
- On the Contacts page, in the top-right, click the Add New Contact button.
- In the Add new contact window, enter their information. Name is required for all Contacts and Email is required for most* Contacts.
 *Email is not required if the Contact is tagged as a Writer.
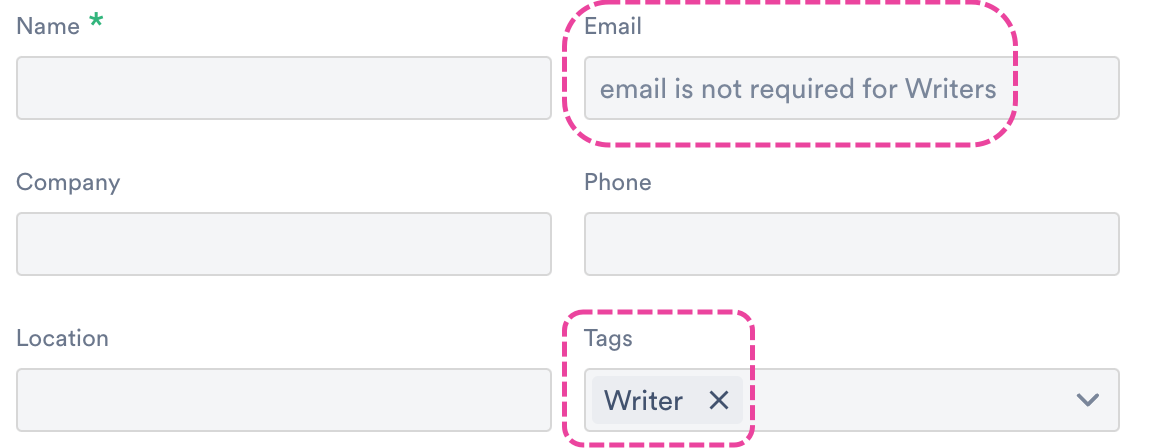
- Optional: Add Tags to your Contact. Visit this article for more information on Contact Tags.
- Click the Add contact button.
Adding multiple Contacts
You can add multiple contacts at once by uploading a CSV file. Visit this article for more information.
Searching Contacts
To search through your Contacts, use the search bar on the Contacts page. You can search using data from any of the fields (Name, Email, Company, Phone, Location, Tags).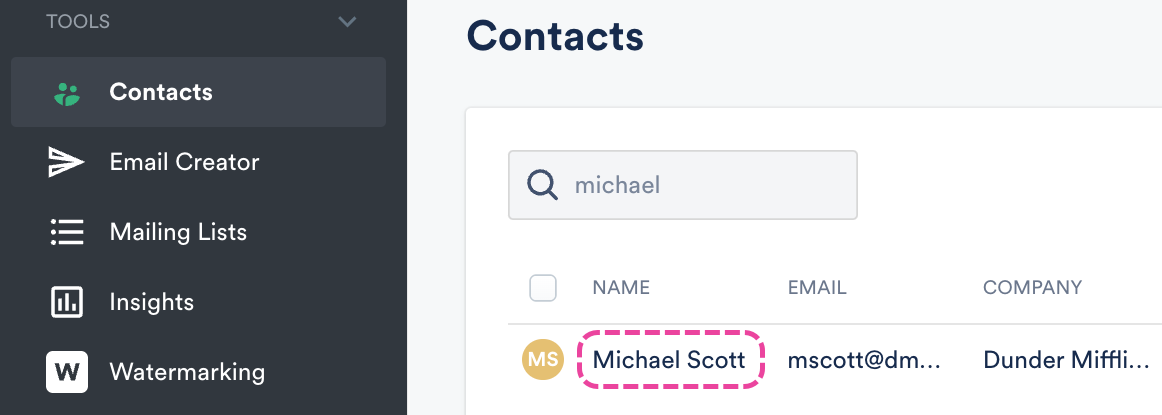
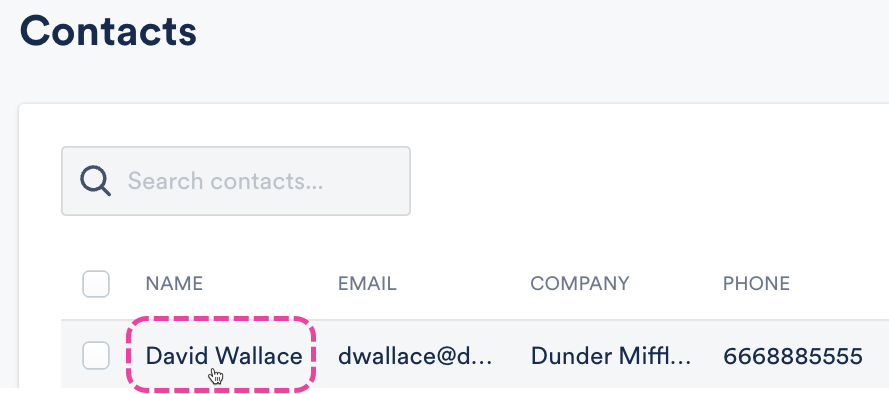
Viewing individual Contact pages
To view a contact, just click on their name in the Contacts list.
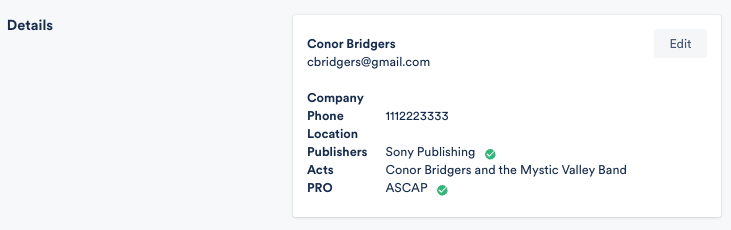
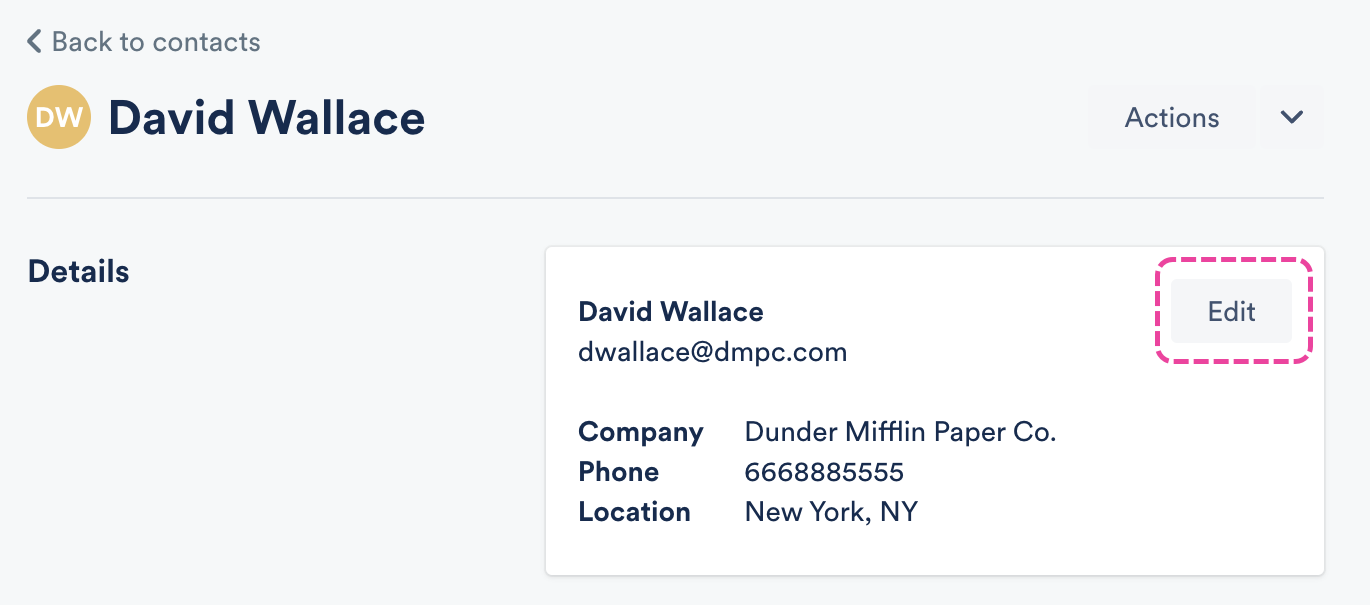
This will bring you to their contact page, where you can see their Details, Tags, Notes, Mailing Lists, and Activity.
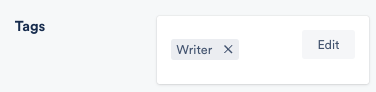
- Details → view and edit basic Contact Information. If they are a Writer (as indicated by their Tags), their Publishers, Acts, and PROs will also be listed here.
- Tags → view and edit Tags
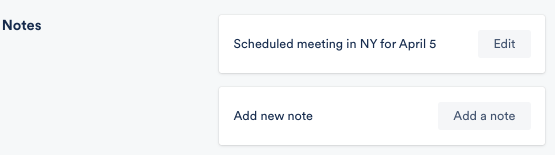
- Notes → view, edit, and add Notes added by anyone in your DISCO
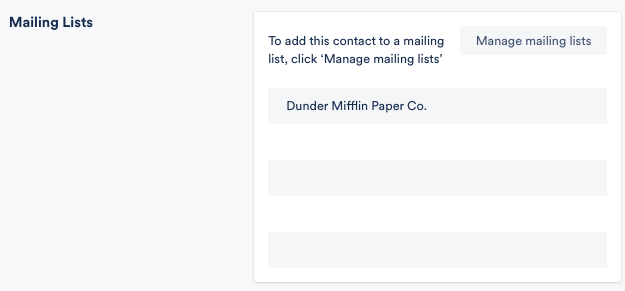
- Mailing Lists → view Mailing Lists this contact is currently on, and add them to or remove them from Mailing Lists
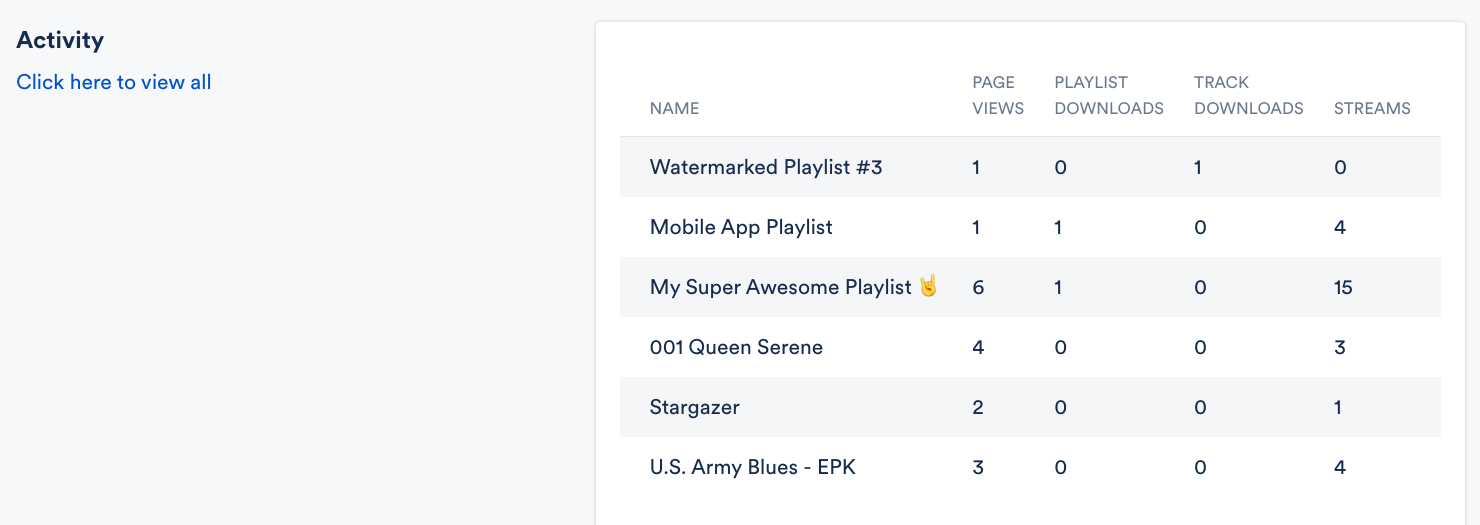
- Activity → view any Playlists you have shared with this contact, and their activity on those playlists (Page Views, Downloads, Streams)
Editing and deleting Contacts
You can edit contacts in a couple of different ways.
Single Contacts
From the individual contact page:
- Click on their name in the Contact list.
- To edit, click the Edit button next to the section you wish to edit. To delete, click the Actions drop-down.
- To delete, click the Actions drop-down and select Delete.

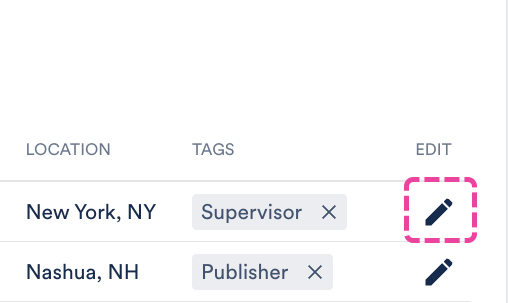
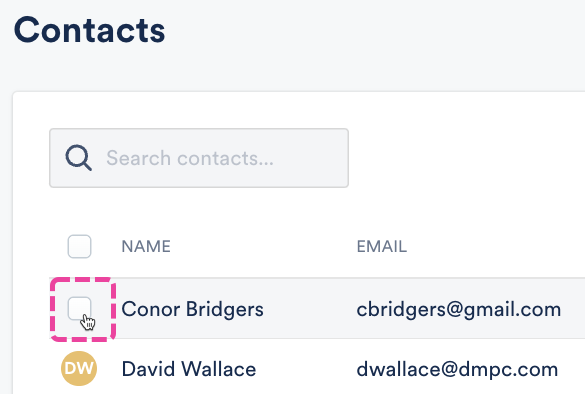
From the main Contacts page:
- To edit, click the pencil in the Edit column for that Contact.
- To delete, hover over the Contact name, then check the box that appears.
- Open the Edit selected drop-down and select Delete selected.

Multiple Contacts
- From the main Contacts page, check the boxes for each Contact, then click Edit selected in the top right corner.
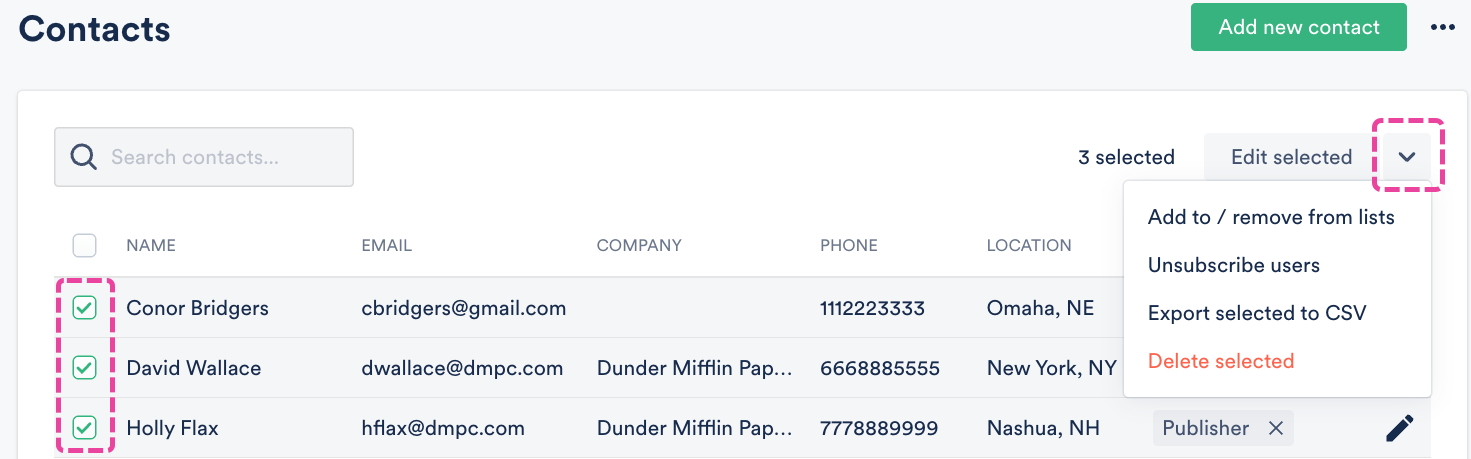
- From here you can select Add to / remove from lists or Unsubscribe users.
- To edit them in bulk, select Export selected to CSV. Visit this article for more information on exporting your Contacts and this article for editing Contacts in bulk.
- To delete, select Delete selected.