Using Contact Tags
Contact Tags are useful for quickly labeling, searching, and filtering your Contacts within Contact Lists, Mailing Lists, and when choosing recipients to send campaigns to via our Email Creator.
At a glance
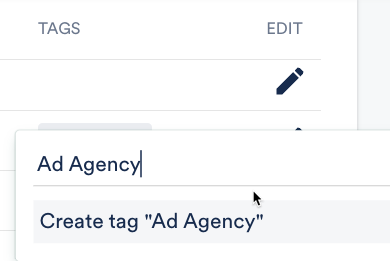
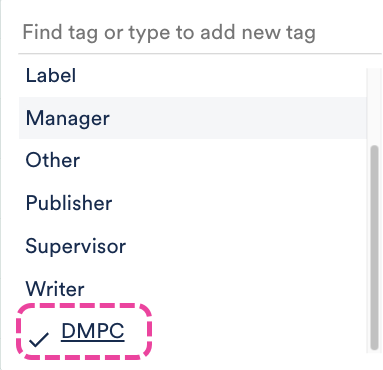
When adding Contact Tags, you can either select pre-set tags from the drop-down or type in the field to create your own:
- Label
- Other
- Publisher
- Supervisor
- Writer -- Additional fields will appear so you can add their Publisher, Acts, and Performing Rights Organization, also known as PRO. For more information on managing Writers, refer to our article on managing writers.
You can add Contact tags to existing Contacts, or when adding a new Contact.
Adding Tags to existing Contacts
Single Contacts
- From the left sidebar of your DISCO, under Tools, select Contacts.
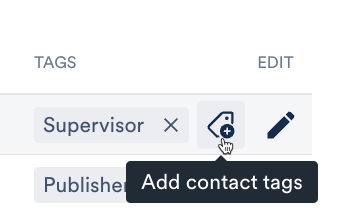
- Hover your cursor over the Contact name and click the Tag icon that appears to Add contact tags.

- Select a Tag from the dropdown or type to create one.
Multiple Contacts
- Hover over the Contact names, then check the boxes that appear.
- Click the Tag icon that appears to Add contact tags.
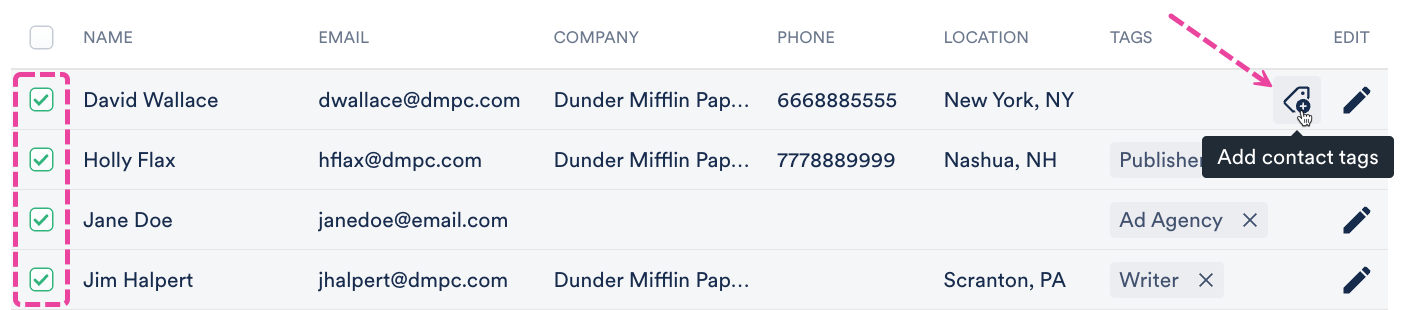
- Type in the field to create your own Tag, or choose from the available pre-set Tags.
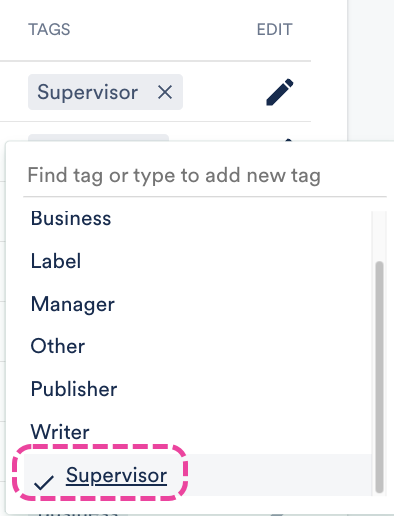
📎 Notes: - If you see a minus symbol (—) next to a Contact tag, that means the tag is present on some of the Contacts you've selected, but not at all. If you click this tag, it will be added it to all the selected Contacts.
- If you see a checkmark (✔️) next to a Contact tag, that means the tag is present on all the contacts you've selected. If you click this tag, it will be removed from all the selected contacts.
Adding Tags to new Contacts
Single Contacts
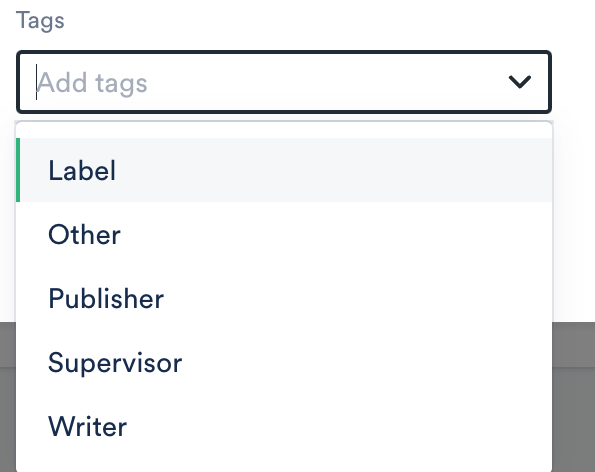
- In the Add new contact window, under Tags, type in the field to create your own Tag, or choose from the available pre-set Tags.
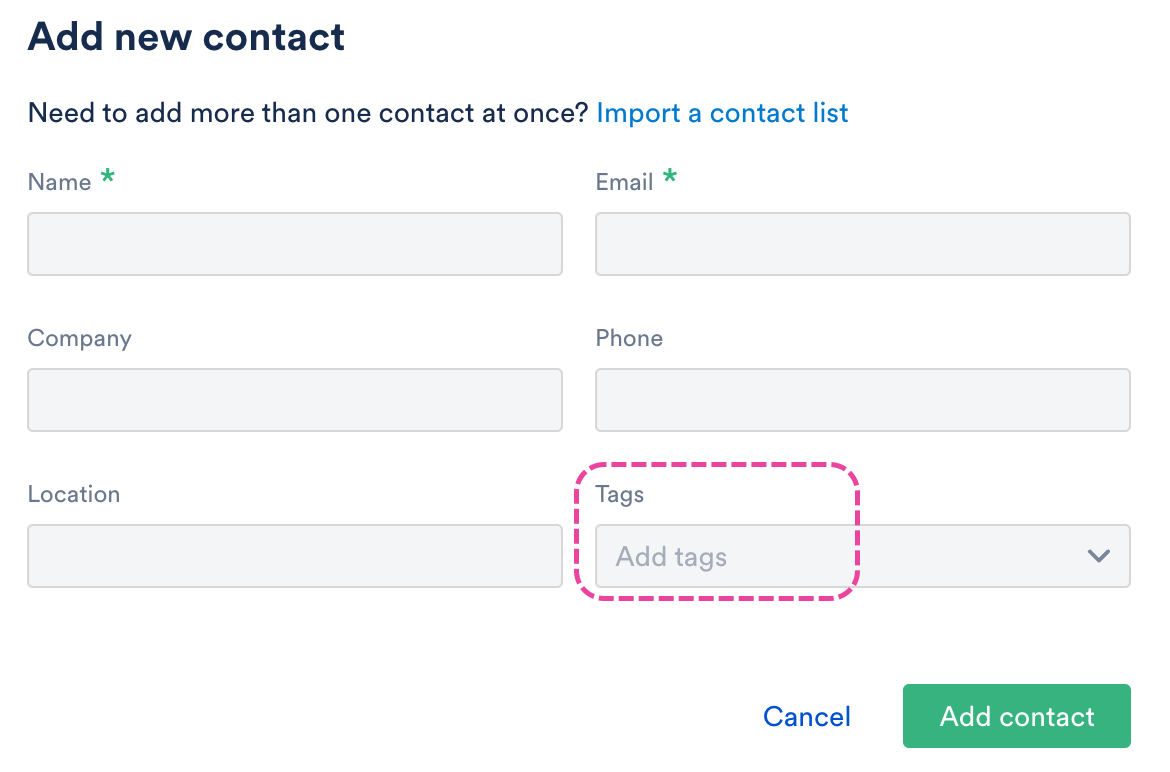
- Click the Add contact button.
Multiple Contacts
You can add Contact Tags for multiple Contacts along with other Contact data when you add new Contacts via a CSV import. When adding tags via CSV, make sure your file:
- has a Tags column
- has all Tags for each Contact contained within a single cell separated by commas

Removing Contact Tags
There are two ways to do this:
Method 1: In the Tags column for the Contact, click the X on the tag you wish to remove.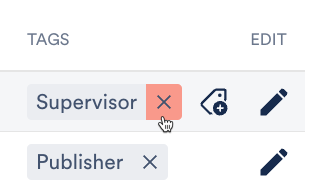
Method 2:
- Hover over the Contact name and click the Tag icon that says Add contact tags.
- Click on the Tag that shows a check mark to unselect it.